Ender-3 V3 Plus Review: How Build Volume, CoreXZ Motion, and Nozzle Choice Affect Real-World Value
A specification-based guide to print capacity, motion stability, material support, ownership cost, and the alternatives buyers should compare.
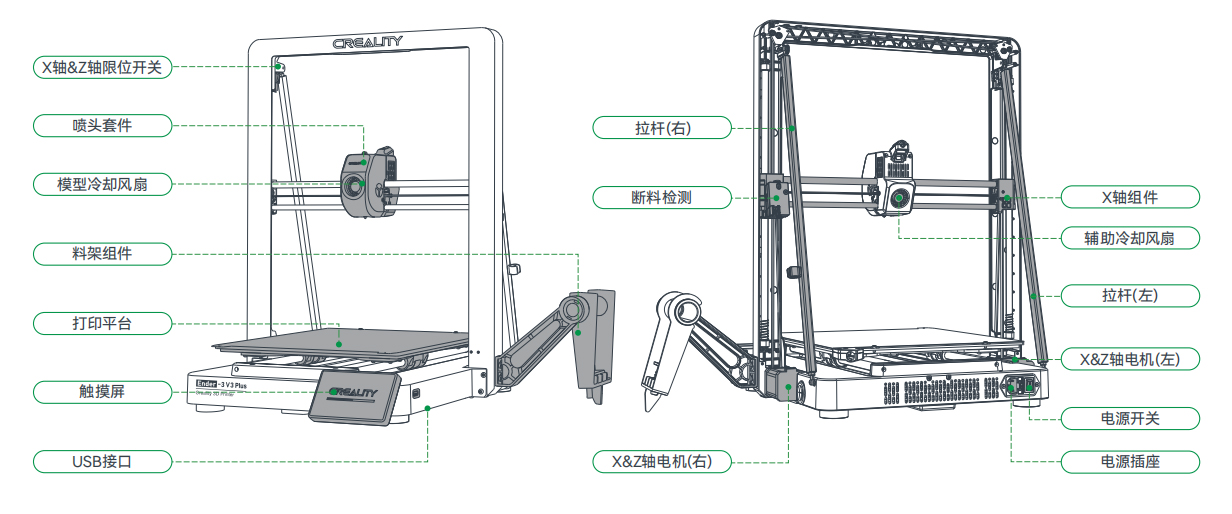

The Ender-3 V3 Plus is a large-format, open-frame fused deposition modeling (FDM) 3D printer for users who want to produce bigger parts with fewer cuts, seams, and glued joints. Its 300 × 300 × 330 mm build volume is supported by CoreXZ motion, dual Y-axis motors, automatic calibration, direct-drive extrusion, and a rigid metal frame. Its real value comes from simplifying large-print workflows, not from size or headline speed alone.
Quick verdict
The Ender-3 V3 Plus is a strong choice for large PLA, PETG, and TPU projects when build capacity matters more than having a built-in enclosure or an established multi-color system. Its most useful advantage is not the advertised 600 mm/s maximum speed. It is the ability to print objects that would need to be divided on a normal 220 or 256 mm machine.
- Best for: helmets, cosplay parts, organizers, prototypes, classroom models, workshop tools, lamp bodies, enclosures, and small-batch production.
- Main advantage: a 300 × 300 × 330 mm build volume that can reduce model cutting and post-processing.
- Main limitation: the open frame gives less temperature control for large ABS, ASA, or other warp-prone prints.
- Choose a smaller printer if: nearly all your models fit on a standard desktop bed and room space is limited.
- Choose an enclosed printer if: engineering materials and chamber stability matter more than maximum open-frame capacity.
Bottom line: the Creality Ender-3 V3 Plus creates the most value when its larger bed removes an entire assembly step from your project.
Ender-3 V3 Plus specifications at a glance

| Feature | Official specification | Practical meaning |
|---|---|---|
| Printing technology | FDM / fused deposition modeling | Uses widely available 1.75 mm filament to make functional and decorative parts. |
| Build volume | 300 × 300 × 330 mm | Fits larger single-piece models and more small parts per batch. |
| Motion system | CoreXZ with dual Y-axis motors | Supports fast X-Z response while giving the large moving bed additional drive and stability. |
| Maximum print speed | Up to 600 mm/s | Provides speed headroom, although normal quality settings and material flow may be lower. |
| Typical print speed | 300 mm/s | Offers a more useful reference point than the maximum headline speed. |
| Maximum acceleration | Up to 20,000 mm/s² | Allows quick direction changes when model geometry and material flow permit them. |
| Nozzle temperature | Up to 300 °C | Supports common materials and several fiber-filled filaments with the correct profile. |
| Heatbed temperature | Up to 100 °C | Provides a useful temperature range for PLA, PETG, TPU, and materials that need more bed heat. |
| Extruder | High-speed direct drive | Creates a short filament path and improves control of flexible filament. |
| Nozzle | Quick-swap tri-metal nozzle with hardened-steel tip | Simplifies maintenance and improves resistance to abrasive filled filament. |
| Calibration | Auto Z offset, auto leveling, and input shaping | Reduces manual setup and helps control vibration-related print artifacts. |
| Build surface | Flexible textured build plate | Supports first-layer grip and easier removal after the plate cools. |
| Display | 4.3-inch HD color touch screen | Provides local control, model previews, and animated calibration information. |
| File transfer | USB drive, WLAN, and Creality Cloud | Supports both local and network-based print workflows. |
| Machine dimensions | 410 × 445 × 577 mm | The moving bed and top-mounted spool still require additional operating clearance. |
Specification sources: Creality Ender-3 V3 Plus official store page and Creality Ender-3 V3 series comparison. Specifications checked August 5, 2026.
Maximum speed should be treated as a machine capability, not a promise that every outer wall will print at 600 mm/s. Model shape, layer height, nozzle flow, cooling, acceleration, and filament type all affect real print time. A balanced Ender 3 V3 Plus review should therefore focus on repeatable results and workflow improvements rather than one short speed demonstration.
Why the larger build volume changes the workflow

The Ender 3 V3 Plus build volume is 300 × 300 × 330 mm. The standard Ender-3 V3 provides 220 × 220 × 250 mm. When all three dimensions are considered, the Plus offers about 2.45 times the theoretical build volume of the standard model.
That difference is valuable because a larger model can often be printed as one part. A costume panel, electronics housing, lamp shade, machine guard, storage bin, or display model may need several pieces on a smaller printer. Every avoided split can remove alignment pins, glue, filler, sanding, weak joints, and visible seam lines.
This is the deeper value of the Creality Ender 3 V3 Plus 3D printer: it moves work from physical finishing back into the digital model. Changing a design file is usually faster and cleaner than repairing several printed sections by hand.
The extra bed area also helps with small parts. Users can arrange more brackets, clips, labels, classroom models, or saleable products in one batch. However, filling every part of the bed creates a longer job with more failure points. For production work, several medium-size batches can be safer than one very large batch. A failed piece then risks fewer hours and less filament.
Ender 3 V3 Plus build plate size explained
Build plate size and build volume are not always the same measurement. The official usable X-Y print area is 300 × 300 mm, while the maximum Z height is 330 mm. When buying a replacement Ender 3 V3 Plus build plate, check the supplier's exact outer dimensions, rear notches, alignment points, and stated V3 Plus compatibility. A plate made for a smaller Ender model should not be selected only because its title includes "Ender 3."
How CoreXZ motion affects speed and stability
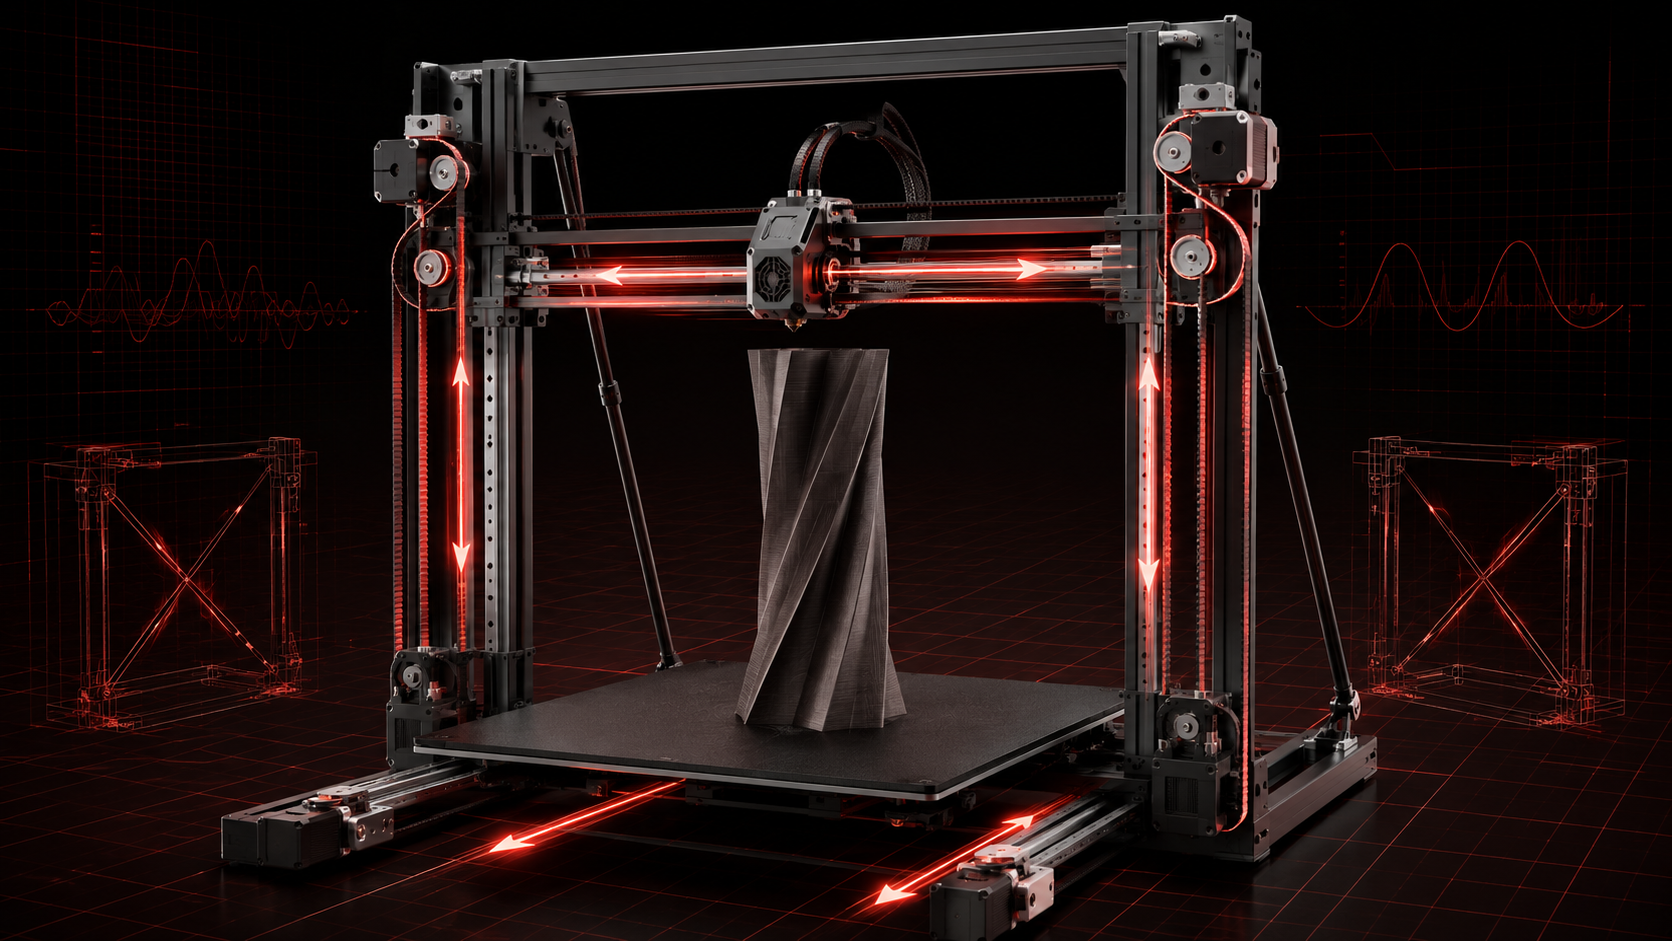
The Ender-3 V3 Plus uses CoreXZ kinematics. In simple terms, two motors and linked belts work together to control movement across the X and Z axes. This arrangement supports fast response while precise linear rods, automatic belt tensioning, input shaping, and a rigid frame help keep motion controlled.
The printer is not a CoreXY machine. Its bed still travels along the Y axis. A 300 mm bed carrying a heavy printed model has meaningful inertia, especially during fast direction changes. Creality addresses this challenge with two Y-axis motors, two linear rods, and diagonal support rods that connect the base and gantry.
These supports matter most on tall prints. As the object grows, its upper layers can amplify vibration from bed movement. The stable frame and motion compensation help, but no software can remove every physical limit. Tall, narrow, or heavy models may still benefit from lower acceleration, reduced outer-wall speed, and a firm table.
Real speed also depends on geometry. A wide vase with smooth curves may move quickly, while a mechanical part with many small corners spends more time accelerating and slowing down. Large flat parts may be limited by nozzle flow or cooling before they reach the motion limit. The best profile is the fastest one that preserves the accuracy and surface quality the project requires.
Print quality, hotend, and material support
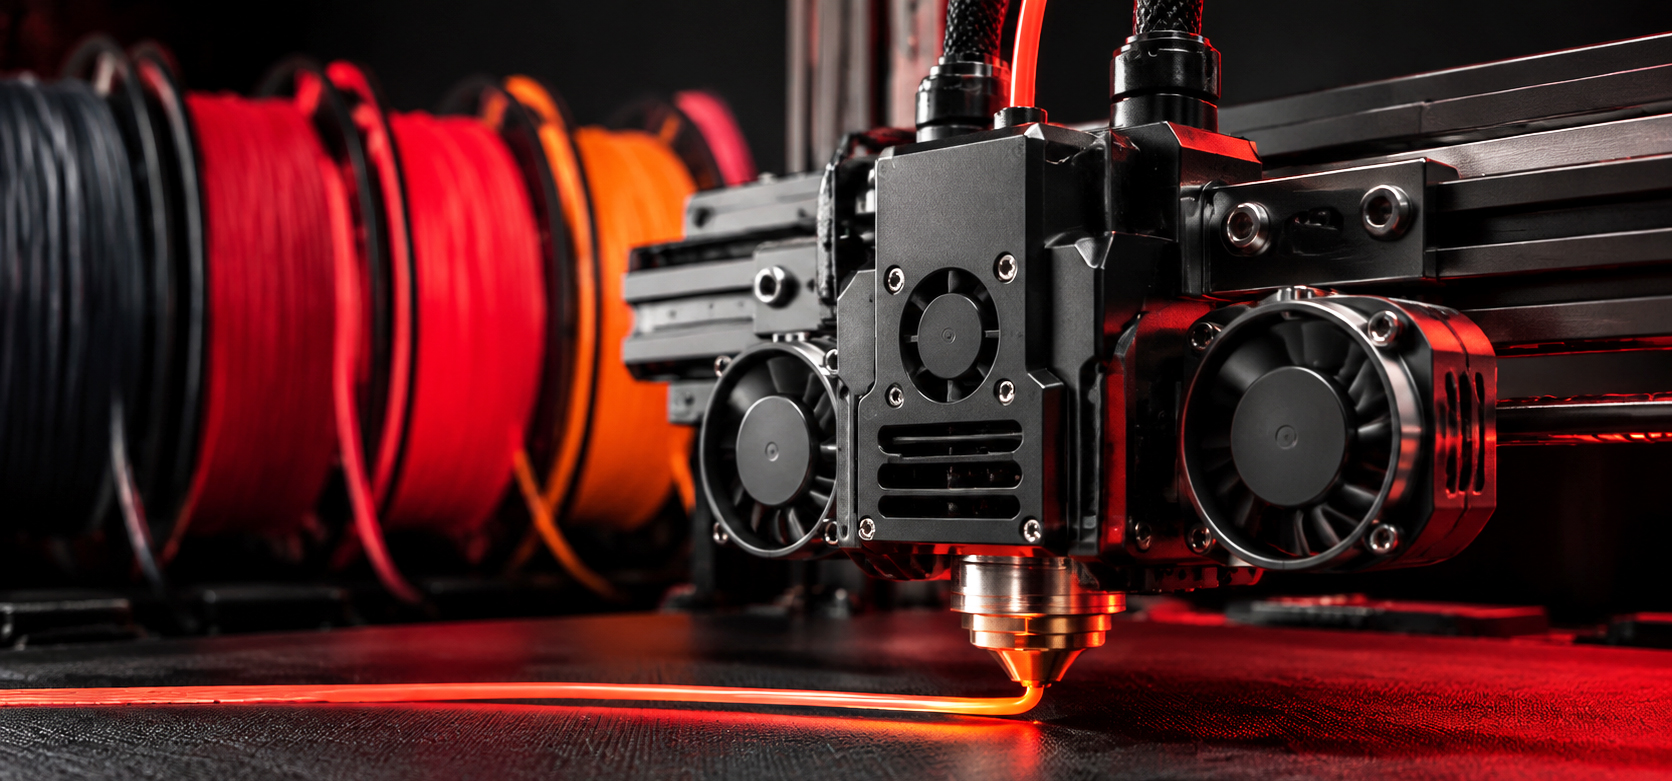
The direct-drive extruder grips filament close to the hotend. A 60 W heater, quick-swap tri-metal nozzle, and dual part-cooling fans support faster melting and more even cooling. These features are useful on bridges, overhangs, and fast PLA models, where weak cooling can soften corners or produce drooping lines.
PLA
PLA is the easiest material for daily use. It suits prototypes, models, organizers, props, and decorative parts. High-flow PLA can make better use of the printer's speed, while ordinary PLA may need a lower volumetric flow limit.
PETG
PETG is a practical option for workshop tools, storage parts, guards, and items that need more toughness than standard PLA. It may require lower cooling, careful first-layer settings, and dry filament to control stringing.
TPU
The short direct-drive filament path makes TPU 95A suitable for flexible feet, covers, seals, and protective parts. Flexible material normally prints more reliably at a controlled speed than at the machine's maximum motion setting.
ABS, ASA, and filled materials
The nozzle can reach 300 °C and the bed can reach 100 °C, but heat alone does not create a stable chamber. Large ABS and ASA parts can shrink or warp in an open room. Use a suitable enclosure, stable ambient conditions, and proper ventilation when a material requires them. The hardened nozzle tip also supports abrasive PLA-CF and PETG-CF, but users should still follow the filament maker's nozzle and ventilation guidance.
Ender-3 V3 Plus nozzle sizes and K2 Plus compatibility
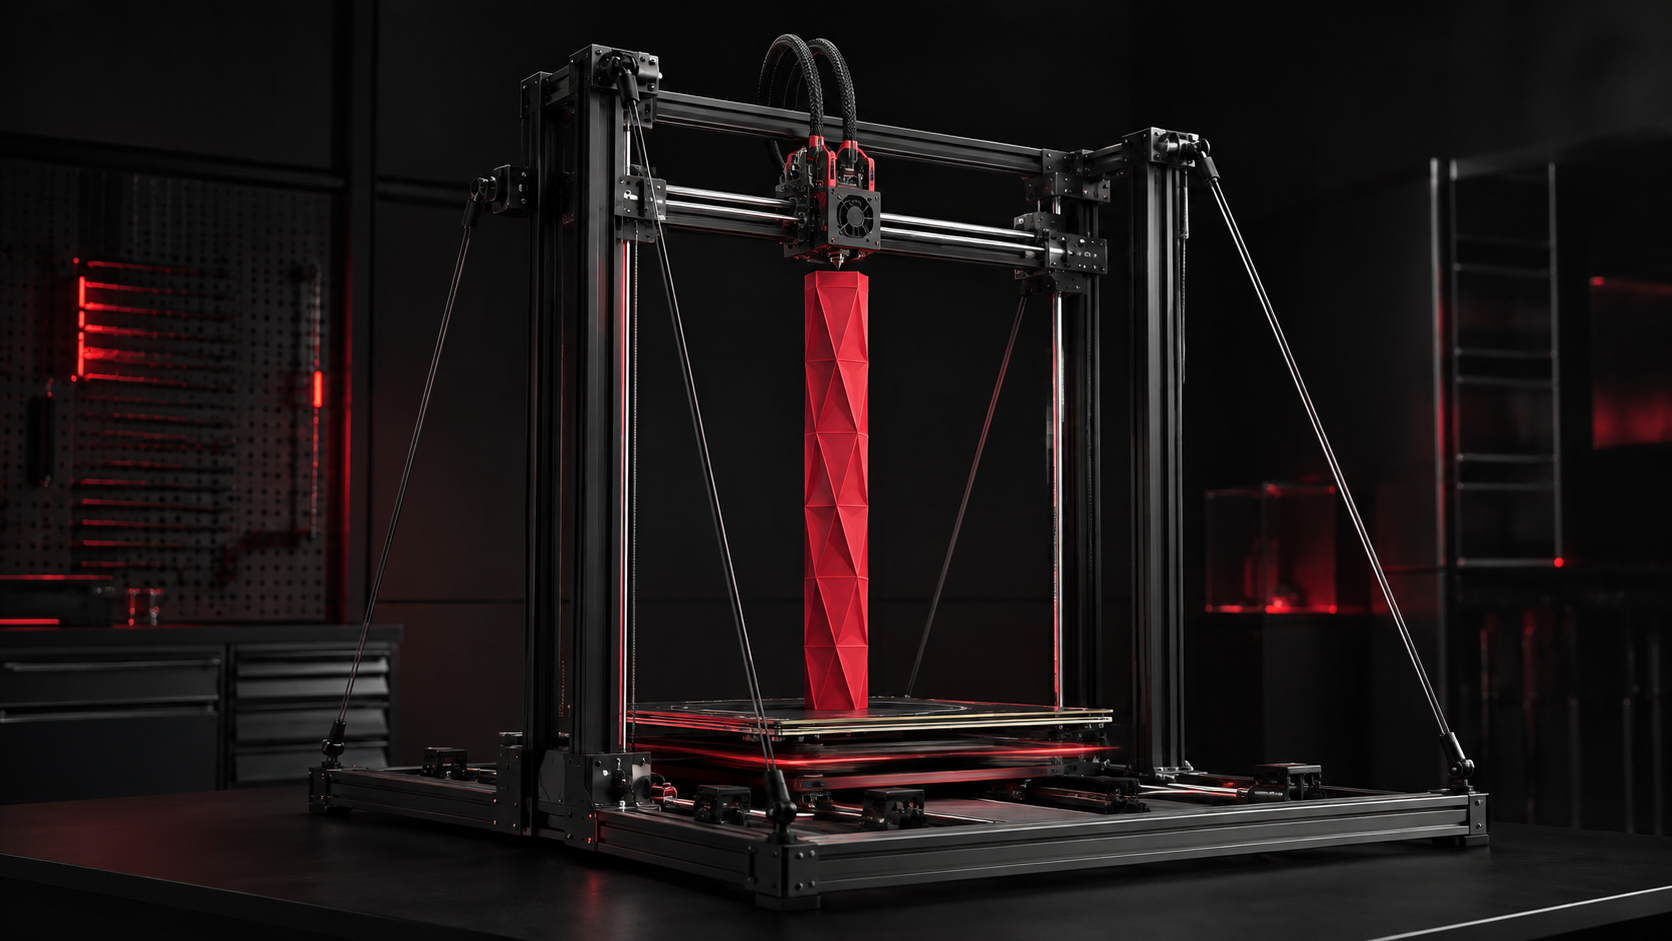

The Creality Ender-3 V3 Plus Nozzle 0.4MM is the best all-around size for this printer. It balances detail, material flow, and print time. A 0.6 mm nozzle is more efficient for medium and large functional parts, while a 0.8 mm nozzle prioritizes high flow and wide, strong lines over fine surface detail.
| Nozzle size | Best use | Main advantage | Trade-off |
|---|---|---|---|
| 0.4 mm | General models, prototypes, detailed parts, and everyday printing | Best balance of accuracy, speed, and profile availability | Slower than larger nozzles on very large objects |
| 0.6 mm | Enclosures, brackets, organizers, tools, and medium-to-large functional parts | Higher output with useful detail and wider walls | Small text and very fine features lose some definition |
| 0.8 mm | Large prototypes, machine guards, props, jigs, and thick-walled parts | Highest practical material output of these three sizes | Lowest fine-detail resolution and greater flow demand |
What must change after installing a larger nozzle?
Select the correct nozzle diameter in the slicer before printing. Then review line width, layer height, temperature, maximum volumetric flow, cooling, pressure advance, and speed. Installing a larger nozzle without changing the profile can create incorrect dimensions, weak extrusion, excess pressure, or unrealistic print-time estimates.
Can a Creality K2 Plus Combo nozzle or hotend be used on the Ender-3 V3 Plus?
Do not assume compatibility from the Creality name or nozzle diameter alone. Products described as the Creality K2 Plus Combo Nozzle 0.4MM, Creality K2 Plus Combo Nozzle 0.6MM, Creality K2 Plus Combo Nozzle 0.8MM, and Creality K2 Plus Combo Hotend belong to the K2 Plus accessory family. The Combo label means that the printer package includes a CFS; it does not make the K2 Plus hotend an Ender-3 V3 Plus replacement. Buy only a nozzle or hotend whose official compatibility list includes the exact printer model and relevant hardware revision.
Compatibility references: Creality quick-swap nozzle kit for K1C and Ender-3 V3/V3 Plus and Creality K2 Plus quick-swap nozzle kit.
Setup and daily workflow

The Creality Ender 3 V3 Plus 3D printer arrives in large preassembled modules. Setup mainly involves joining the gantry and base, installing the screen and spool holder, checking the correct input voltage, removing all shipping protection, and running calibration.
- Measure the full operating area. The bed travels forward and backward, so the machine needs more clearance than its frame dimensions suggest.
- Place it on a firm surface. A light or flexible table can add vibration during fast movement.
- Clean the build surface. Skin oil and dust can weaken first-layer adhesion.
- Run complete calibration. Auto Z offset, leveling, and input shaping should be completed after assembly or after moving the printer.
- Start with a known profile. Confirm the filament temperature, maximum flow, and cooling before changing speed.
- Test before a long job. Use a small model to check the first layer, flow, dimensions, and surface quality.
Creality Print provides prepared profiles, network transfer, and printer management. Creality OS is based on Klipper and supports advanced controls for users who want deeper tuning. Beginners can remain in the standard interface, while experienced users can adjust pressure advance, input shaping, acceleration, and material flow.
How to improve reliability on large prints
Large-format printing magnifies small errors. A minor lifted corner on a 60 mm part may be harmless, but the same lift on a 280 mm panel can pull the entire model out of shape. The following steps reduce avoidable failures:
- Check the first layer across the full bed rather than only in the center.
- Use a brim when tall, narrow, or warp-prone parts need more contact area.
- Keep filament dry to reduce rough surfaces, bubbles, weak lines, and stringing.
- Choose wall count before using very high infill; walls often improve practical strength more efficiently.
- Reduce outer-wall speed for small details, sharp corners, and very tall models.
- Orient the model so the layer direction supports the load it will carry.
- Monitor the early layers before leaving a long print unattended.
A wider nozzle can also improve real productivity. A 0.6 mm or 0.8 mm nozzle places wider lines and more material per pass, which can shorten large functional jobs and improve wall strength. The trade-off is reduced fine-detail resolution. Choose the nozzle around the object rather than around a maximum speed number.
Ender-3 V3 Plus strengths and limitations

What it does well
- Large usable capacity: 300 × 300 × 330 mm fits many full-size props and practical parts.
- Purposeful motion hardware: CoreXZ, dual Y motors, linear rods, and gantry braces address the demands of a larger moving bed.
- Automatic setup: auto leveling, Z offset, and input shaping reduce routine manual adjustment.
- Practical extrusion: direct drive, a 300 °C hotend, a hardened quick-swap nozzle, and dual cooling cover common materials.
- Flexible control: touch operation, USB, Wi-Fi, Creality Print, and Klipper-based software suit beginner and advanced workflows.
- Useful design access: the open frame makes the nozzle, bed, and printed model easy to reach.
Where it is less suitable
- It requires real operating space: bed travel and the spool holder extend beyond the compact-looking frame.
- It is not enclosed: large warp-prone materials need more environmental control.
- The camera is optional: remote visual checks and camera-based failure features need additional hardware.
- Maximum speed is conditional: tall or heavy models may need slower settings despite the 600 mm/s rating.
- Single-color printing is the simplest workflow: users focused mainly on easy multi-color production may prefer another ecosystem.
Ender-3 V3 Plus comparisons
| Comparison | Key difference | Choose Ender-3 V3 Plus when... | Choose the alternative when... |
|---|---|---|---|
| Ender 3 V3 Plus vs Bambu Lab A1 | V3 Plus: 300 × 300 × 330 mm and up to 600 mm/s. A1: 256 × 256 × 256 mm and up to 500 mm/s. | You need larger one-piece prints, extra Z height, and more open Klipper-based control. | You value a highly guided workflow and the established AMS lite multi-color system. |
| Neptune 4 Plus vs Ender 3 V3 Plus | Neptune 4 Plus offers 320 × 320 × 385 mm; Ender uses CoreXZ and lists higher maximum speed and acceleration. | You prefer the smaller listed machine footprint, CoreXZ design, and Creality software workflow. | Maximum build volume is the first priority and you have room for its operating area. |
| K1C vs Ender 3 V3 Plus | K1C is an enclosed 220 × 220 × 250 mm CoreXY printer; V3 Plus is a much larger open-frame printer. | You print large PLA, PETG, or TPU parts and do not need a built-in enclosure. | You print smaller engineering-material parts and value an enclosure, camera, and air filter. |
| K1 Max vs Ender 3 V3 Plus | Both offer a 300 × 300 mm base area and up to 600 mm/s. K1 Max is enclosed with 300 mm Z; V3 Plus is open with 330 mm Z. | You want extra height, easy physical access, and large-format printing with common materials. | You want CoreXY motion, an enclosure, integrated monitoring, and broader high-temperature use. |
| Ender 3 V3 vs Ender 3 V3 Plus | The main feature set is similar, but build volume rises from 220 × 220 × 250 mm to 300 × 300 × 330 mm. | Your files regularly exceed a standard Ender bed or you print several parts per batch. | Most models are small and desk space matters more than occasional extra capacity. |
Comparison sources: Creality Ender-3 V3 series, Creality K1 series, Bambu Lab A1 technical specifications, and ELEGOO Neptune 4 Plus official specifications. Data checked August 5, 2026. Prices are excluded because regional offers change frequently.
Bambu Lab A1 vs Creality Ender 3 V3 Plus
The Bambu Lab A1 vs Creality Ender 3 V3 Plus decision is mainly about color workflow versus physical capacity. The A1 offers a guided ecosystem and a mature AMS lite option. The V3 Plus provides about 77% more theoretical build volume and 74 mm more official Z height. Choose the A1 for convenient multi-color printing; choose the V3 Plus for helmets, large fixtures, tall objects, and fewer glued seams.
Ender 3 V3 vs Ender 3 V3 Plus
For Ender 3 V3 vs V3 Plus, size is the deciding factor. Both use CoreXZ, list the same maximum speed, and share a similar extruder, hotend, screen, calibration system, and software base. The standard V3 is easier to place. The Plus becomes worthwhile when oversized files appear regularly rather than occasionally.
K1 Max vs Ender 3 V3 Plus
The K1 Max vs Ender 3 V3 Plus comparison centers on the printing environment. K1 Max provides an enclosure, CoreXY motion, camera features, and a 300 × 300 × 300 mm volume. The V3 Plus is open, easier to access, and gives 30 mm more official Z height. K1 Max is the better fit for controlled-material work; V3 Plus focuses more of the machine on open large-format capacity.
3D printer cost and long-term ownership
People asking how much a 3D printer costs often compare only the purchase price. Real ownership cost also includes filament, failed prints, nozzles, build plates, tools, electricity, maintenance, an enclosure when needed, and the time spent preparing or finishing a model.
The Ender-3 V3 Plus can work as a cost-effective large-format 3D printer when it prevents outsourcing, removes assembly work, or replaces a more expensive enclosed machine for common-material jobs. However, a lower purchase price does not create value if the extra build area is rarely used. Estimate the cost per successful project rather than the cost of the machine alone.
Bundles and regional promotions change often. Compare the current machine, shipping, warranty, included accessories, spare nozzle availability, and local support before buying. An old sale price in a review should not be treated as the current market price.
What can you make with the Ender-3 V3 Plus?
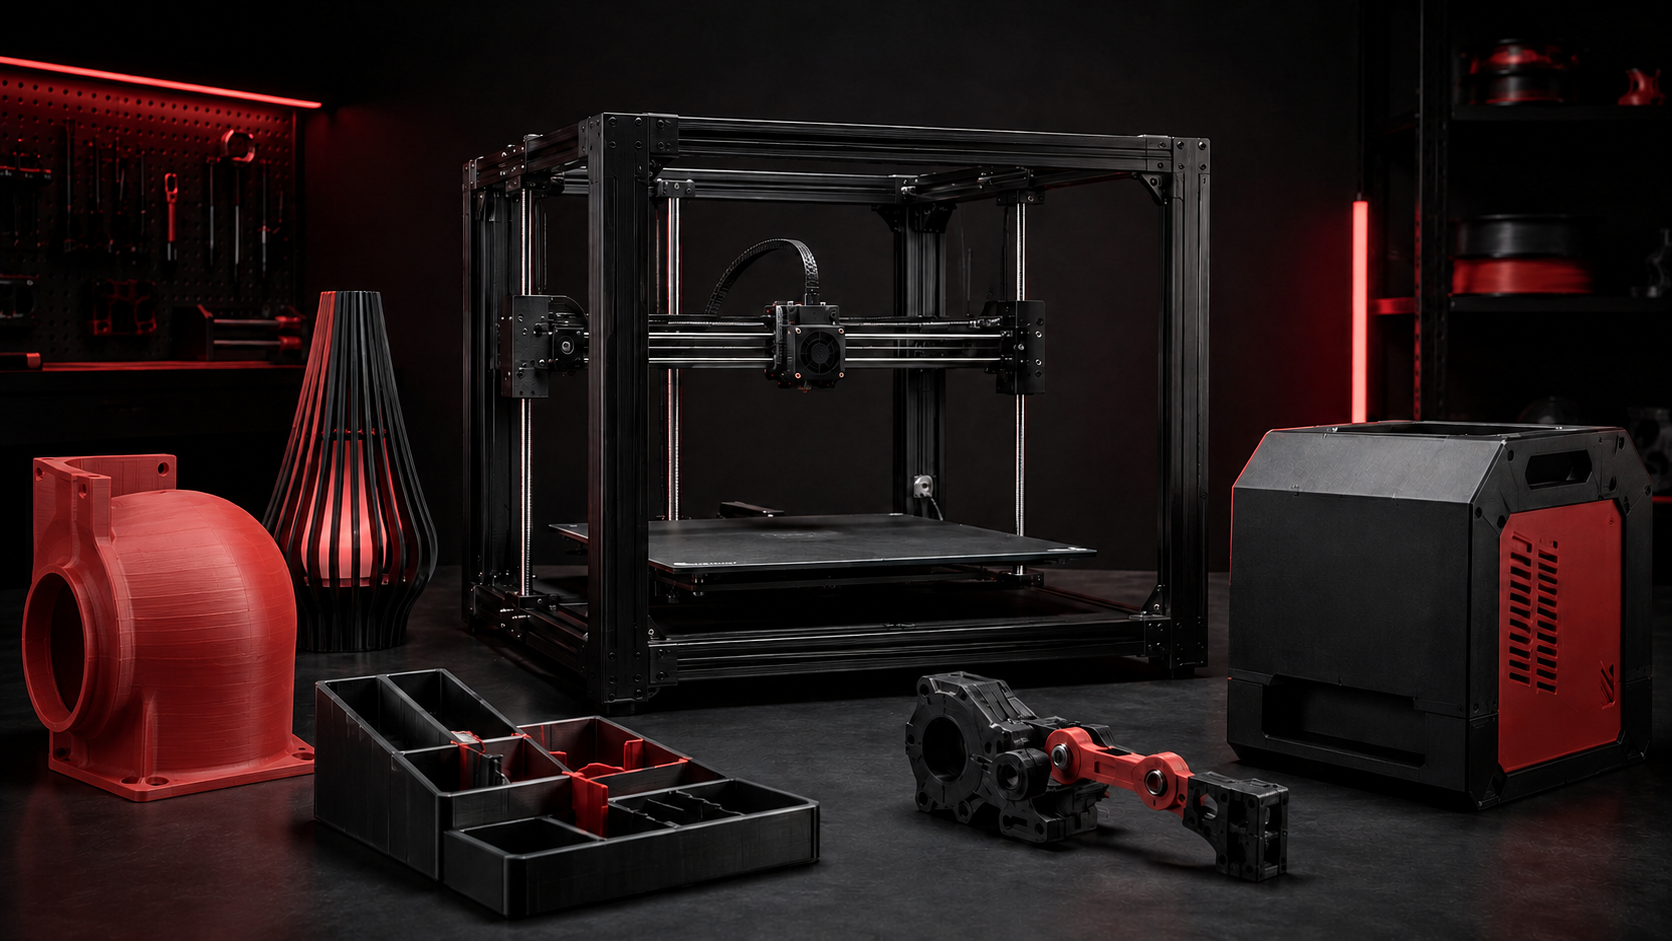
The larger bed is most useful for projects that benefit from being printed in one piece. Good examples include a helmet shell, electronics box, custom drawer insert, lamp body, wall organizer, machine guard, router template, display model, board-game organizer, or full-size prototype.
A 3D model maker for 3D printer projects can be a simple browser tool, parametric CAD program, or sculpting application. Use accurate CAD for brackets and enclosures, an outline-based tool for cookie cutters, and sculpting software for props or characters. Export the final model as STL, OBJ, or 3MF, then confirm orientation, supports, walls, material, and print profile in the slicer.
The machine is also useful for batches of smaller items, but batch size should match the cost of failure. A completely full plate can run for many hours. Several medium batches often make production easier to monitor and repeat.
Who should buy the Ender-3 V3 Plus?
Buy it if...
- Your models often exceed a 220 or 256 mm build plate.
- You want to reduce model cutting, gluing, sanding, and seam repair.
- You mainly use PLA, PETG, TPU, or compatible filled materials.
- You want automatic calibration with access to deeper Klipper-based tuning.
- You have enough room for the moving bed and top-mounted spool.
Skip it if...
- Nearly every model you print is small.
- You need a built-in enclosure for frequent ABS, ASA, nylon, or PC work.
- Easy multi-color printing is more important than build volume.
- You cannot provide a stable table with front and rear clearance.
- You want real product-testing evidence that this specification-based guide does not provide.
Frequently asked questions
Is the Creality Ender-3 V3 Plus good for beginners?
Yes, if the beginner has enough room and genuinely needs a large build area. Automatic leveling, Z offset, input shaping, a touch screen, and prepared slicer profiles remove much of the manual setup associated with older machines. A smaller printer can still be easier and less expensive for learning basic skills.
What is the Ender 3 V3 Plus build volume?
The official Ender 3 V3 Plus build volume is 300 × 300 × 330 mm. This is about 2.45 times the theoretical volume of the 220 × 220 × 250 mm Ender-3 V3.
How fast is the Ender-3 V3 Plus?
Creality lists a maximum speed of 600 mm/s, maximum acceleration of 20,000 mm/s², and a typical speed of 300 mm/s. Real speed depends on model geometry, layer height, nozzle flow, cooling, acceleration limits, and required surface quality.
Which nozzle size is best for the Ender-3 V3 Plus?
Use a 0.4 mm nozzle for the best general balance, a 0.6 mm nozzle for faster functional printing with useful detail, and a 0.8 mm nozzle for large parts where material output and strong wide lines matter more than fine features.
Can the Ender-3 V3 Plus print ABS?
Its nozzle and bed temperatures support ABS, but the printer is open. Large ABS parts normally benefit from an enclosure, stable room temperature, and suitable ventilation. PLA and PETG are easier materials for open-frame daily use.
Is the Ender-3 V3 Plus a delta 3D printer?
No. It is a Cartesian bed-slinger with CoreXZ motion. A delta 3D printer uses three towers and moving arms, so delta firmware settings, control-board configurations, hotend mounts, and motion parts should not be assumed compatible with the Ender-3 V3 Plus.
Ender 3 V3 Plus vs Bambu A1: which should I choose?
Choose the Ender-3 V3 Plus for substantially more build volume, taller prints, and open Klipper-based control. Choose the Bambu Lab A1 for a more guided ecosystem and its established AMS lite multi-color workflow.
Is the Ender-3 V3 Plus better than the Neptune 4 Plus?
Neither is better for every buyer. Neptune 4 Plus offers the larger official build volume at 320 × 320 × 385 mm. Ender-3 V3 Plus has a smaller listed machine footprint, CoreXZ motion, and higher stated maximum speed and acceleration. Choose around build capacity, available room, software preference, and support.
Should I choose K1C or Ender-3 V3 Plus?
Choose K1C when its enclosure, camera, air filter, and smaller CoreXY design better match engineering-material work. Choose Ender-3 V3 Plus when the 300 × 300 × 330 mm capacity is the main requirement.
Is the Ender-3 V3 Plus the best low-cost large 3D printer?
There is no universal best 3D printer. The V3 Plus is a strong value when large open-frame capacity prevents seams or outsourcing. It is less suitable when controlled chamber temperature, compact size, or easy multi-color printing matters more.
Is the Creality Ender 3 V3 Plus 3D printer worth buying?
It is worth buying when files larger than a normal desktop bed appear regularly in your workflow. If almost every project fits on a smaller machine, the extra capacity may not justify its space and ownership cost.
Final verdict
The Creality Ender-3 V3 Plus is more than a standard Ender stretched in three directions. Its 300 × 300 × 330 mm work area is supported by dual Y motors, linear rods, gantry braces, CoreXZ motion, automatic input shaping, direct-drive extrusion, and balanced part cooling.
Buy it for large single-piece models, useful batch capacity, common-material flexibility, and an open system that can grow with your skills. Skip it when you need a built-in enclosure, effortless multi-color production, or only a compact printer for small parts.
The clearest conclusion is simple: the Ender-3 V3 Plus attracts attention with speed, but its ability to remove cuts, seams, and assembly work is the stronger reason to own it.